
# 준비에서 실행까지 단 몇 분 만에 끝
바쁜신 분들을 위해 준비 했습니다. 간단 블로그 만들기
0. Git, Node.js를 설치 한다.
1. 폴더 만들고 Hexo 설치하기
1 | $ npm install -g hexo-cli |
Blog폴더의 _config.yml을 연다.
1 | # Site |
위의 부분을 수정합니다. 참고 예는 저의 설정 파일 입니다. 뜩같이 적지 말고 자신의 사이트에 맞게 수정합니다.
2. GitHub Pages 만들기
- https://github.com/ 사이트에 가입.
- 로그인
- new repository : https://github.com/new 에 자인의 이름과 같이 http://{자신의계정}.github.io를 만든다.
- 예) 계정이 innks이면, innks/innks.github.io
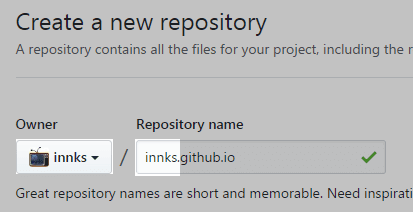
자신의계정을 기입하고 만들기를 눌러 만들고 화면상에 있는 HTTPS란에 있는 https://github.com/innks/innk.github.io.git을 Hexo의 _config.yml파일에 넣으시면 됩니다.
1 | # Deployment |
3. 테마 적용하기
root 폴더의 _config.yml 파일을 열어 테마부분을 수정합니다. (이때 _config.yml파일은 테마폴더는 아닙니다.)
1 | # Extensions |
콘솔창을 열어 테마를 설치 합니다.
1 | $ git clone https://github.com/ppoffice/hexo-theme-hueman.git themes/hueman |
이제 블로그의 _config.yml말고 테마 폴더 안에 있는 _config.yml.example의 이름을 _config.yml로 수정합니다.
1 | $ cd themes/hueman |
4. 커스터마이징 customizing
테마 폴더안의 _config.yml을 수정하여 자기의 블로그에 맞게 수정하겠습니다.
자세히 보실분은 이쪽으로 이동 -> Hexo 기본설정
1 | # Menus |
5. logo 이미지 없이 사용하기
hrader.ejs 수정
/themes/hueman/common/hrader.ejs파일을 열어 밑에처럼 수정합니다.
1 | <div id="header-title"> |
을
1 | <div id="header-title"> |

footerejs 수정
로 변경 후, /themes/hueman/common/footerejs파일을 열어 밑에처럼 수정합니다.
1 | <div class="credit"> |
를
1 | <div class="credit"> |
로 변경하시면 로고가 생깁니다.
6. 포스트 쓰기
1 | $ hexo new [layout] <title> |
1 |
|
7. 테스트 배포
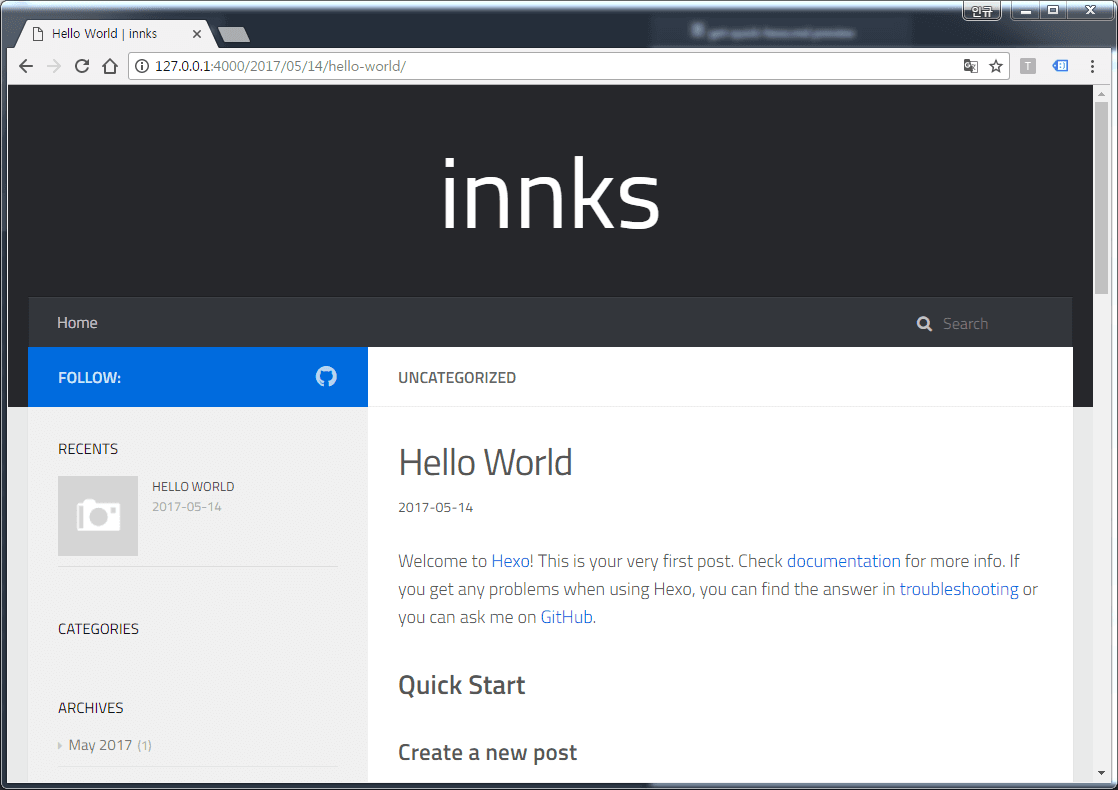
1 | $ hexo s |
로컬 서버로 테스트 http://127.0.0.1:4000 해보고 이상 없으면,
1 | $ hexo g -d |
배포 합니다.
8. 추가부분
ㄱ. 대표 URL 설정하기
1 | $ npm install --save hexo-auto-canonical |
플로그임 추가하고 테마 폴더의 head.ejs파일에 <%- meta(page) %> 라고 있는데 그 바로 아래 붙여넣으시면 됩니다.
1 | <%- autoCanonical(config, page) %> |
ㄴ. 사이트맵 만들기 (XML, RSS)
일단 사이트맵을 등록하려면 사이트맵 파일을 만들어야 합니다. ML 과 RSS 방식 모두 사용하는 것이 좋다고 합니다.
a. 사이트맵 자동 생성 플러그인
XML 은 전체 페이지에 대한 내용을 가지고 있습니다.
1 | $ npm install hexo-generator-seo-friendly-sitemap --save |
_config.yml파일에 다음과 같이 추가합니다.
1 | # sitemap auto generator |
b. RSS feed 자동 생성 플러그인
RSS 는 최근 포스트에 대한 정보를 가지고 있습니다.
1
$ npm install hexo-generator-feed --save
_config.yml파일에 다음과 같이 추가합니다.
1 | feed: |
이제 생성해서 배포해봅시다.
1 | $ hexo g -d |
그러면 root 에 sitemap.xml 과 feed.xml 이 생긴 것을 확인하실 수 있습니다.
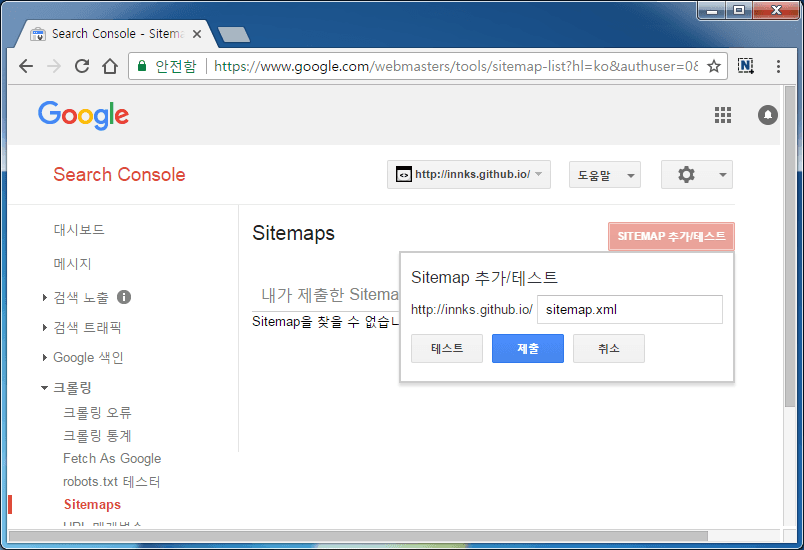
9. Google Search Console에서 사이트맵 제출
Google Serach Console 의 크롤링 > Sitemaps 에 들어가시면 SITEMAP 추가/ 테스트 가 있습니다. 만들었던 파일을 제출 하면 됩니다.
첨언 Fetch As Google 와 robot.txt
Fetch As Google 은 구글의 크롤링 담당하는 Googlebot 이라는 놈으로 주소를 넣고 가져오기 및 렌더링 을 눌러봅시다. 그러면 잠깐의 시간이 흐르고 완료되었다고 나오면, URL 색인을 제출합니다. 자세히 알아보기
robot.txt 라는 파일이 있는데 이 파일은 Googlebot 의 접근을 조절하는 파일입니다. 한마디로 검색에 노출이 필요하지 않은 부분으 robots.txt로 제어합니다. 자세히 알아보기
# 관련 문서 바로가기
- 초간단 HEXO와 hueman 테마 설치하기
- Hexo로 정적 블로그 시작하기
- GitHub Pages 만들기(Hexo용)
- Hexo 기본설정
- Hexo 포스팅하기
- hexo 로컬 서버 테스트와 배포(GitHub)
- Hexo 테마 Hueman 적용하기
- Hueman테마에 메뉴 변경하기
- Hueman 테마에 부제목 추가하기
- hexo을 포멧/다른 컴퓨터에 환경을 구축하기